Budget Setups Under $100 That Look Like $5,000 Studio Production
Why Your Current Setup Is Costing You Money
Listen, director, I’m going to be brutally honest with you: bad lighting is the #1 reason OnlyFans creators lose subscribers. Period.
I’m not exaggerating. And this isn’t me being dramatic because I’m still mad about the overhead lighting I saw in that bedroom scene last Tuesday (spoiler alert: I was).
In over 1,000+ professional productions, I’ve noticed a pattern so consistent you could set your watch to it:
- Bad lighting = subscribers don’t come back
- Good lighting = subscribers come back and pay more
- Overhead lighting = your subscribers question their life choices
Here’s the thing: You don’t need a $50,000 studio setup. You don’t need to rent a professional space. You don’t even need to understand the difference between a 3200K and 5600K color temperature (though you will by the end of this guide).
What you DO need is this guide.
Film like a pro! Purchase The Home Porn Filmmaker System!
This bundle covers the full process of creating watchable, intentional home porn – from planning and identity, through filming and performance, to editing and final delivery.
Instead of random tips, you get a complete system: how to think before the shoot, how to run the scene while filming, and how to shape raw footage into a finished video people actually want to watch.
If you want your content to feel deliberate instead of accidental, this is the complete guide.
After reading you will film better than 99% percent of porn directors!
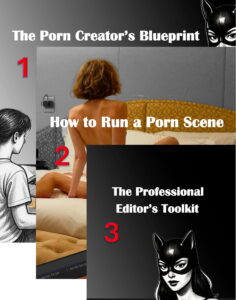
ONLY FOR $50
Film like a pro! Purchase The Home Porn Filmmaker System!
This bundle covers the full process of creating watchable, intentional home porn – from planning and identity, through filming and performance, to editing and final delivery.
Instead of random tips, you get a complete system: how to think before the shoot, how to run the scene while filming, and how to shape raw footage into a finished video people actually want to watch.
If you want your content to feel deliberate instead of accidental, this is the complete guide.
After reading you will film better than 99% percent of porn directors!
ONLY FOR $50
I’ve lit sets in dark bedrooms (the kind where your phone camera needs a flashlight), tiny bathrooms (think: shower scene with zero clearance), and cramped apartments where the bed takes up 80% of the floor space. And you know what? The footage looked professional enough to sell at studio prices.
Here’s what you’ll learn today:
- The exact three-light setup that costs under $100 but looks like $5,000 studio production
- Precise placement by body type and skin tone (yes, this matters A LOT)
- How to make any room look like a professional studio without soundproofing or permits
- Common lighting mistakes that are currently costing you money (and how to avoid them)
- Budget upgrade decisions (when to spend more and when you’re wasting money)
Let’s dive in, director. Your revenue is waiting.
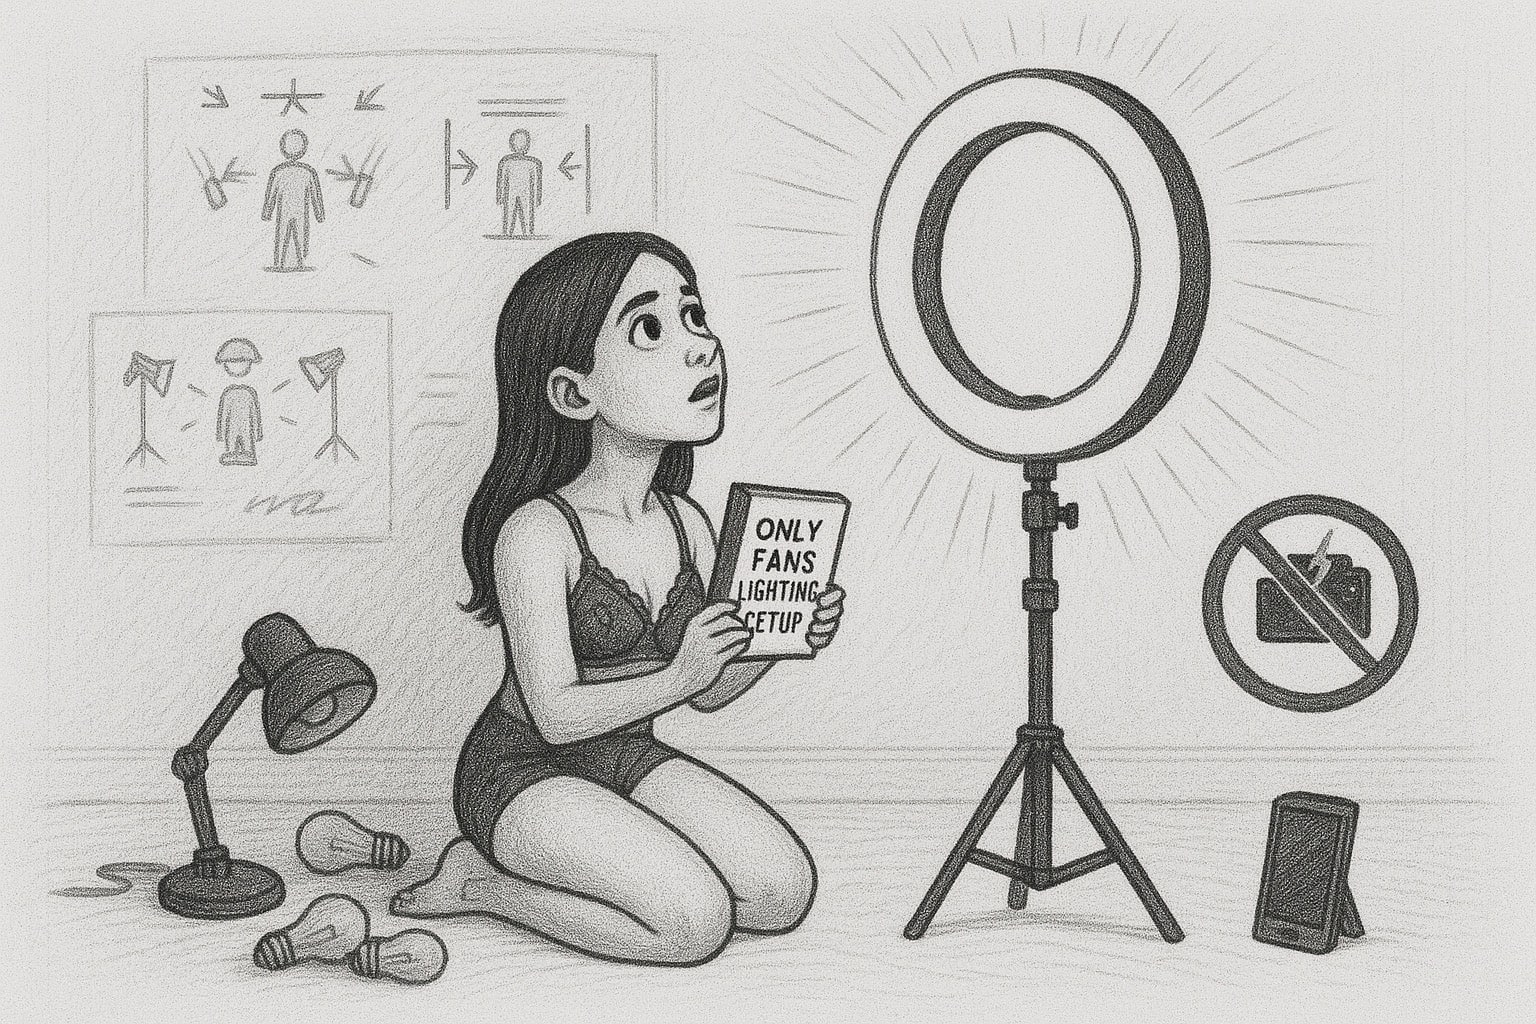
Part 1: The Three-Light Setup Under $100
Professional Glow Without Professional Prices
Director, before we talk about lights, I need to explain why you even need three of them.
Most amateur creators use one light. Sometimes two if they’re feeling fancy. Professional studios use at least three, and here’s why:
- The Key Light: This is your main light. It creates the primary illumination and shadow. Think of it as the “hero” light — it does most of the work.
- The Fill Light: This softens the shadows created by your key light. Without a fill light, you get harsh shadows that look… well, like bad lighting. Your subscribers will see “amateur production” before they see anything else.
- The Back Light (also called Rim Light): This separates you from the background and adds dimension. It’s the difference between looking flat and boring vs. looking three-dimensional and professional. This light is what makes high-end content feel… high-end.
“But wait,” you’re thinking, “can’t I just use lamps I already have?”
Technically? Yes.
Practically? Let’s find better options.
The Budget Option
Here’s exactly what I recommend for the best bang-for-your-buck setup, director:
- Key Light: 2-Pack LED Ring Light ($25–35)
- Search: “LED Ring Light 18 inch with tripod”
- Why: Soft, diffused light that’s flattering on every skin tone
- Placement: 3–4 feet in front of you, slightly above eye level
- Pro tip: The ring shape creates that “catch light” in eyes that looks professional
- Fill Light: LED Panel Light ($20–30)
- Search: “10×20 LED Panel Light Ultra Thin”
- Why: Adjustable color temperature, takes up minimal space
- Placement: 45° to the side of your key light (opposite side of shadows)
- Pro tip: Start with 50% brightness and adjust from there
- Back Light: Budget LED Panel ($15–25)
- Search: “LED Panel Light Budget 12×24”
- Why: Cheap, effective, just needs to create separation from background
- Placement: Behind you, pointed at your back/head area
- Pro tip: Dim this one — you don’t want your subscribers blinded by your halo
Total investment: $60–90
Yes, there are $200+ options that are “better.” You know what else is better? Making another video with this setup instead of waiting for perfect equipment.
The Placement Blueprint
Alright, director, let’s talk positioning. This matters more than you think.
For Most Body Types (Standard Setup):
- Key Light placement:
- Distance: 3–4 feet from your body
- Height: Slightly above eye level (creates flattering shadow under chin)
- Angle: 45° to one side (not straight-on)
- Why: Creates dimension, defines facial features, looks intentional
- Fill Light placement:
- Distance: 4–5 feet from your body
- Height: Slightly lower than key light
- Angle: 45° to the opposite side
- Why: Softens harsh shadows without creating secondary shadows
- Back Light placement:
- Distance: 2–3 feet behind you
- Height: Above your head height
- Angle: Pointed downward at slight angle
- Why: Creates separation, adds dimension, makes you pop from background
Pro tip from 1,000+ sets, director: The back light is often forgotten and always worth it. It’s the difference between “amateur bedroom clip” and “professional production.”
Testing Your Setup (Before You Waste Time Filming)
Here’s a workflow that saves you hours of editing frustration:
The 5-Minute Setup Test:
- Film 30 seconds of just you talking (no fancy angles, just talking directly to camera)
- Watch it back on your phone — not your computer, your phone (that’s what most subscribers watch on)
- Look for these things:
- Are your eyes bright? (Good catch light = professional)
- Are there harsh shadows on one side of your face? (Adjust fill light)
- Can you see yourself well against the background? (That’s the back light doing its job)
- Does your skin look natural or washed out? (Color temperature issue — keep reading)
- Make ONE adjustment at a time and test again
- When it looks good, MARK the positions with tape on the floor
Yes, tape on the floor might seem unsexy, director. You know what’s actually unsexy? Reshooting because your lighting was inconsistent.
The Color Temperature Reality Check
This is where most creators mess up, and I want you to succeed.
Your lights have a “color temperature” measured in Kelvin (K). This affects how your skin tone looks on camera:
- 3200K (Warm/Tungsten): Very yellow, makes skin look peachy/golden
- 4000–4500K (Neutral): Balanced, natural look
- 5600K+ (Cool/Daylight): Very blue, makes skin look institutional
Here’s the truth, director: Not all color temperatures work for all skin tones.
Standard YouTube advice: “Use 5600K daylight for that clean professional look.”
That advice works great for pale skin tones and looks absolutely terrible on darker skin tones (making them look ashy and desaturated).
Part 2: The Most Common Lighting Mistakes
(And How They’re Currently Costing You Money)
Director, I’m going to show you five lighting setups I see constantly that are actively losing you subscribers. Recognize any of these?
Mistake #1: Overhead Lighting (The “Interrogation Scene” Problem)
What I see: Creators putting their main light directly above them, like a ceiling light.
Why it’s a nightmare:
- Creates unflattering shadows under your eyes (you look tired/sick)
- Makes your face look flat and two-dimensional
- Emphasizes any blemishes or texture
- Worst of all: makes you look like you’re being interrogated by the FBI
The fix: Move your light 3–4 feet in front of you at a 45° angle. Seriously, that’s it. You’ll look 10x better instantly.
How much money you’re losing: Probably $500+/month if this is your only light setup. Your subscribers can feel the amateur hour.
Mistake #2: One-Sided Lighting (The “Dark Half Face” Problem)
What I see: Key light on one side, nothing on the other. Looks moody in theory, looks incomplete in practice.
Why it hurts you:
- Subscribers’ eyes go to the shadow side wondering why half your face is dark
- Looks unintentional (like you forgot to set up lighting)
- The “cinematic noir” aesthetic doesn’t work for subscription content (people want to SEE you)
- Distracts from what actually matters
The fix: Add a fill light on the opposite side at 50% brightness. This opens up your face and makes you look intentional.
How much money you’re losing: $200–400/month. Not as bad as overhead lighting, but still noticeable.
Mistake #3: Too Bright Without Fill (The “Washed Out Martian” Look)
What I see: One bright light pointing straight at you, no softer light to balance it.
Why it destroys your look:
- Your skin looks washed out and pale (even if you’re not)
- Loses all texture and detail
- Your features look flattened
- Literally looks like an interrogation room or passport photo booth
The fix: Add a fill light at 50–75% brightness, positioned to the side. This creates separation and definition.
The technical term: “Ratio” is the difference between key light and fill light brightness. You want roughly a 2:1 or 3:1 ratio (key light 2–3× brighter than fill). Not 10:1.
How much money you’re losing: $300–600/month. This is fixable and your subscribers will immediately notice the difference.
Mistake #4: Wrong Color Temperature (The “Hospital Room” Aesthetic)
What I see: Bright blue 5600K lighting on creators with darker skin tones, or overly yellow 3200K on creators with lighter skin tones.
Why it’s a dealbreaker:
- Your skin looks unnatural
- Subscribers question if something’s medically wrong with you
- It’s jarring and pulls them out of the scene
- It screams “I don’t know what I’m doing”
The fix: Test your color temperature. Shoot 30 seconds of footage and check:
- Does your skin look natural and vibrant? Keep it.
- Does your skin look ashy or overly yellow? Adjust.
- The goal is “you but better”, not “you but weird.”
Pro tip for directors: If you use multiple lights, make sure they’re all the same color temperature. Mixing 3200K and 5600K in one shot looks… bad.
How much money you’re losing: $400–800/month if you’re unknowingly using the wrong color temperature. Your subscribers see this immediately.
Mistake #5: Backlighting Without Key Light (The “Silhouette Surprise”)
What I see: Creator pointing a light at their back but forgetting to light their face.
Why it’s terrible:
- You’re literally a silhouette
- Subscribers can’t see your facial expressions
- It’s confusing (are we watching you or your shadow?)
- It’s one of the easiest mistakes to make and hardest to recover from
The fix: Always have your key light set up first. THEN add your back light.
Pro tip: Your back light should be maybe 30–50% brightness of your key light. It’s supporting actor, not the main character.
How much money you’re losing: $600–1,200/month. This is a setup killer.